Easy Redscale DIY

6

What happens when you want to shoot Redscale but realised that your had used up all your stash? Why don’t you try to DIY some Redscale film?

Tools :

  • Scissors
  • Scotch Tape
  • Film rated ISO400 or more

Instructions:

1. Bring your tools into a darkroom.
2. Pull out all the film in the dark.
3. Leave at least an inch of film at the end as a “leader” and cut off the rest of the film.
4. Reverse the film that was cut off.
5. Tape the reversed film back onto the inch of “leader” film.
6. Roll everything back into the canister.
7. Mission accomplished! Ready to Shoot!
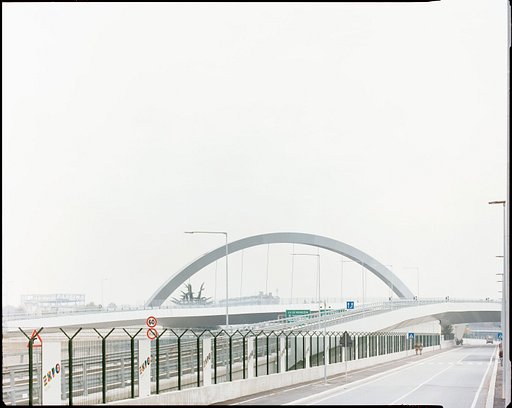
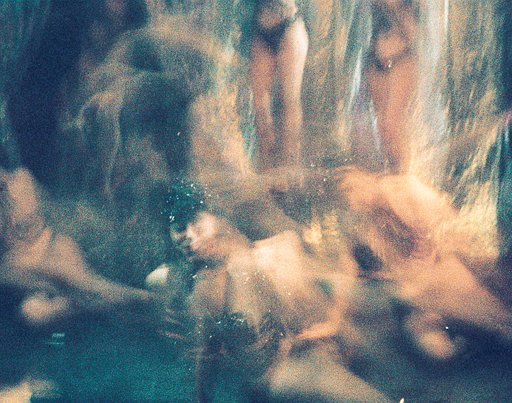
Results as follows:

Scritto da mune316 il 2011-05-09 in #gear #tutorials #film #diy #redscale #tipster #kodak-max-400 #convert

6 Commenti

  1. dearjme
    dearjme ·

    Haha, so much diy redscale! Great photos.

  2. willyboy
    willyboy ·

    Good to know. The redder the better.

  3. superlighter
    superlighter ·

    can I add some advice? why pull out all the film? you can easily drag the film from can to can and cut out the end of the film when is completely passed into the new one. doing so to avoid collecting dust or scratch the film. and if you use the redscale in a camera that read the DX code on the roll don't forget to reload the film in a lower ISO can. for example a 400 iso film must be loaded into an empty 100 iso can. :)

  4. mythguy9
    mythguy9 ·

    You can ask the lab person to return your previous can to you, so you can use it for the next redscale diy.

  5. the_detourist
    the_detourist ·

    @superlighter is totally right. theres NO NEED to unspool the film!!!! just tape the ends together, and put it under a blanket and start winding from one to the other. SIMPLE.

  6. dogtanian
    dogtanian ·

    I also do it by transferring film from one canister to another that way when you you tape the two pieces together you know they're lined up perfectly because that part can be done in light

Altri Articoli Interessanti