Paper Negatives: Darkroom - Print your Scanned Pix onto Photographic Paper the lo-fi Way!
6 20 Share TweetThis Tipster shows you how to get darkroom-prints from your scanned BW negatives without the need for expensive equipment. All you need is a printer, photographic paper, developer and a dark bathroom.
You want analogue pictures of your scanned BW negatives? You’d like to mess around in the darkroom but you haven’t got an enlarger? No problem my friend: you can contact print your files the easy way! With this technique, you can even make analogue prints from your digital pix.

Step1: Start with a digital image (scanned film negative, digital image, even cell phone pix will work) and open it in Photoshop or (better since open source and free) Gimp. If the image is in colour, desaturate it. Invert the BW pic to get a negative image (you may also mirror the file, otherwise your print will be a mirror-image of the original pic).

Step 2: Print your negative image on plain office paper (make sure to print it the same size as your photographic paper).
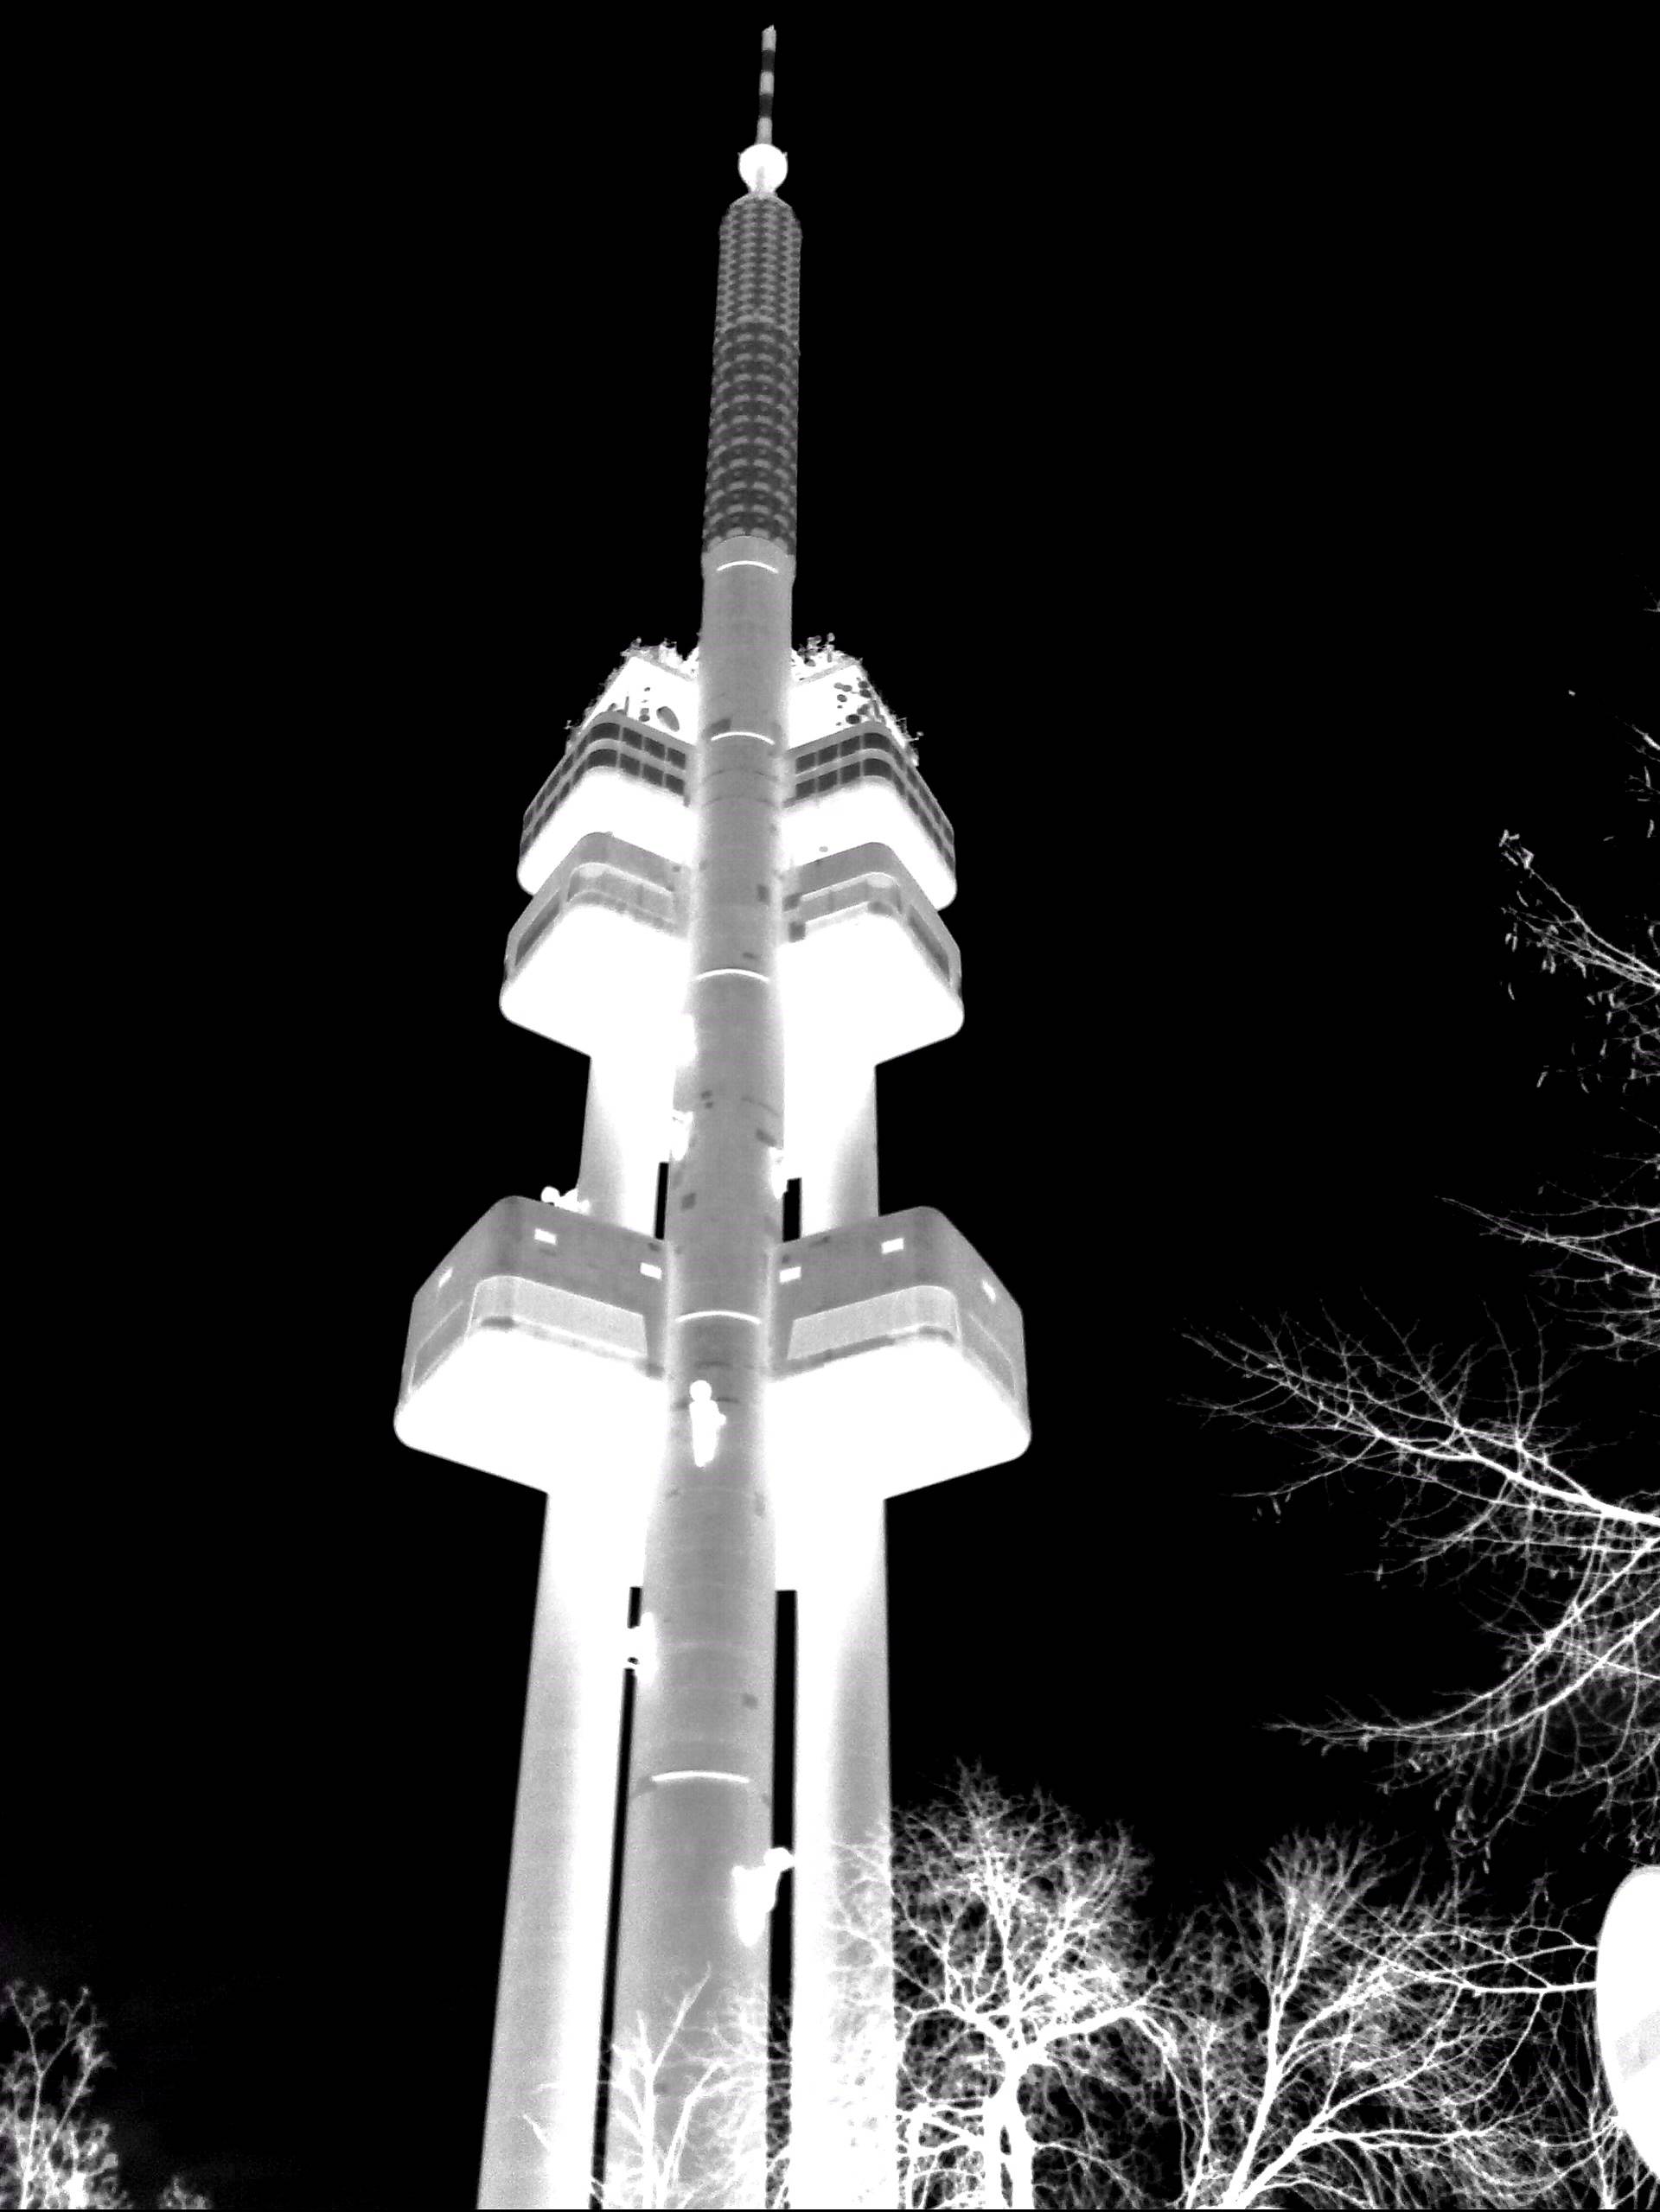
Step 3: Grab some developer (Caffenol in my case but any print developer will do), the paper negative, a glass plate (from a picture frame) ans some photographic BW paper and head to the darkroom (in my case to the windowless bathroom lit by a red bicycle tail-light). Under red safe-light, open the photographic paper and take one sheet out. CLOSE THE BOX AGAIN!!! Lay your photographic paper in a flat surface (the closed toilet comes to mind) and put the paper negative face down on top of it. Cover the negative-paper sandwich with your glass plate (you can also clamp it into a picture frame). You’ll need to expose a test strip

Step 4: Partly cover the negative-paper sandwich with something dark (a magazine for example) so that only a small strip is left uncovered. Turn on the bathroom light, slowly count “one-two” under your breath and uncover another small strip of the negative sandwich. Repeat this until every part of your image is exposed for multiples of 2 seconds and turn off the light again. Develop and fix your print.
Step 5: Judge the correct exposure time from the test strip and start printing as many contact copies as you want!
This technique will give a slightly grainy, low-fi quality to your prints since the paper’s grain will become visible.
Scritto da analogue_rogue il 2013-02-15 in #gear #tutorials #art #tipster #alternative-process #paper-negatives #photographic-paper #select-type-of-tipster #select-what-this-tipster-is-about #darkroom-printing #contact-prinnting








6 Commenti