Tips and Advice to Change the Cameras: Eliminate Light Leaks on a Polaroid EE100
5 Share TweetHere is a simple Tipster to remove/reduce the light leaks on our Polaroid with bellows. Read on to find out more.

A couple of days ago in a flea market, I found a Polaroid EE100 Special looking quite well and at a very attractive price. After some hesitation, I bought it because it was so long since I was looking for a camera that takes Fuji FP- 100, instead of those Impossible ones.

I could not wait to try it. I purchased from my local photo retailer a pack of Fuji FP-100, added the two AA batteries and started to shoot. I followed all the development time instructions of the film. After tearing the first photo I waited a couple of minutes and after that, here is the photo that appeared.


Perfect!
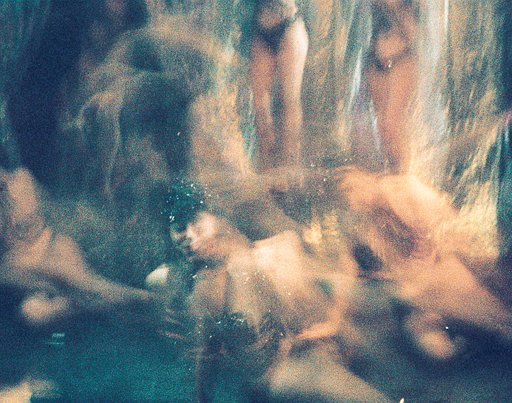
I took a couple more photos, same procedure, same development time, but the photos are not perfect. The photos are full of light beams.


Immediately I thought, this might be the reflection of the sun! So I tried again. The photo was taken from behind the sun, but the light beams are still visible.

Immediately I thought of the possibility of light Leaks.
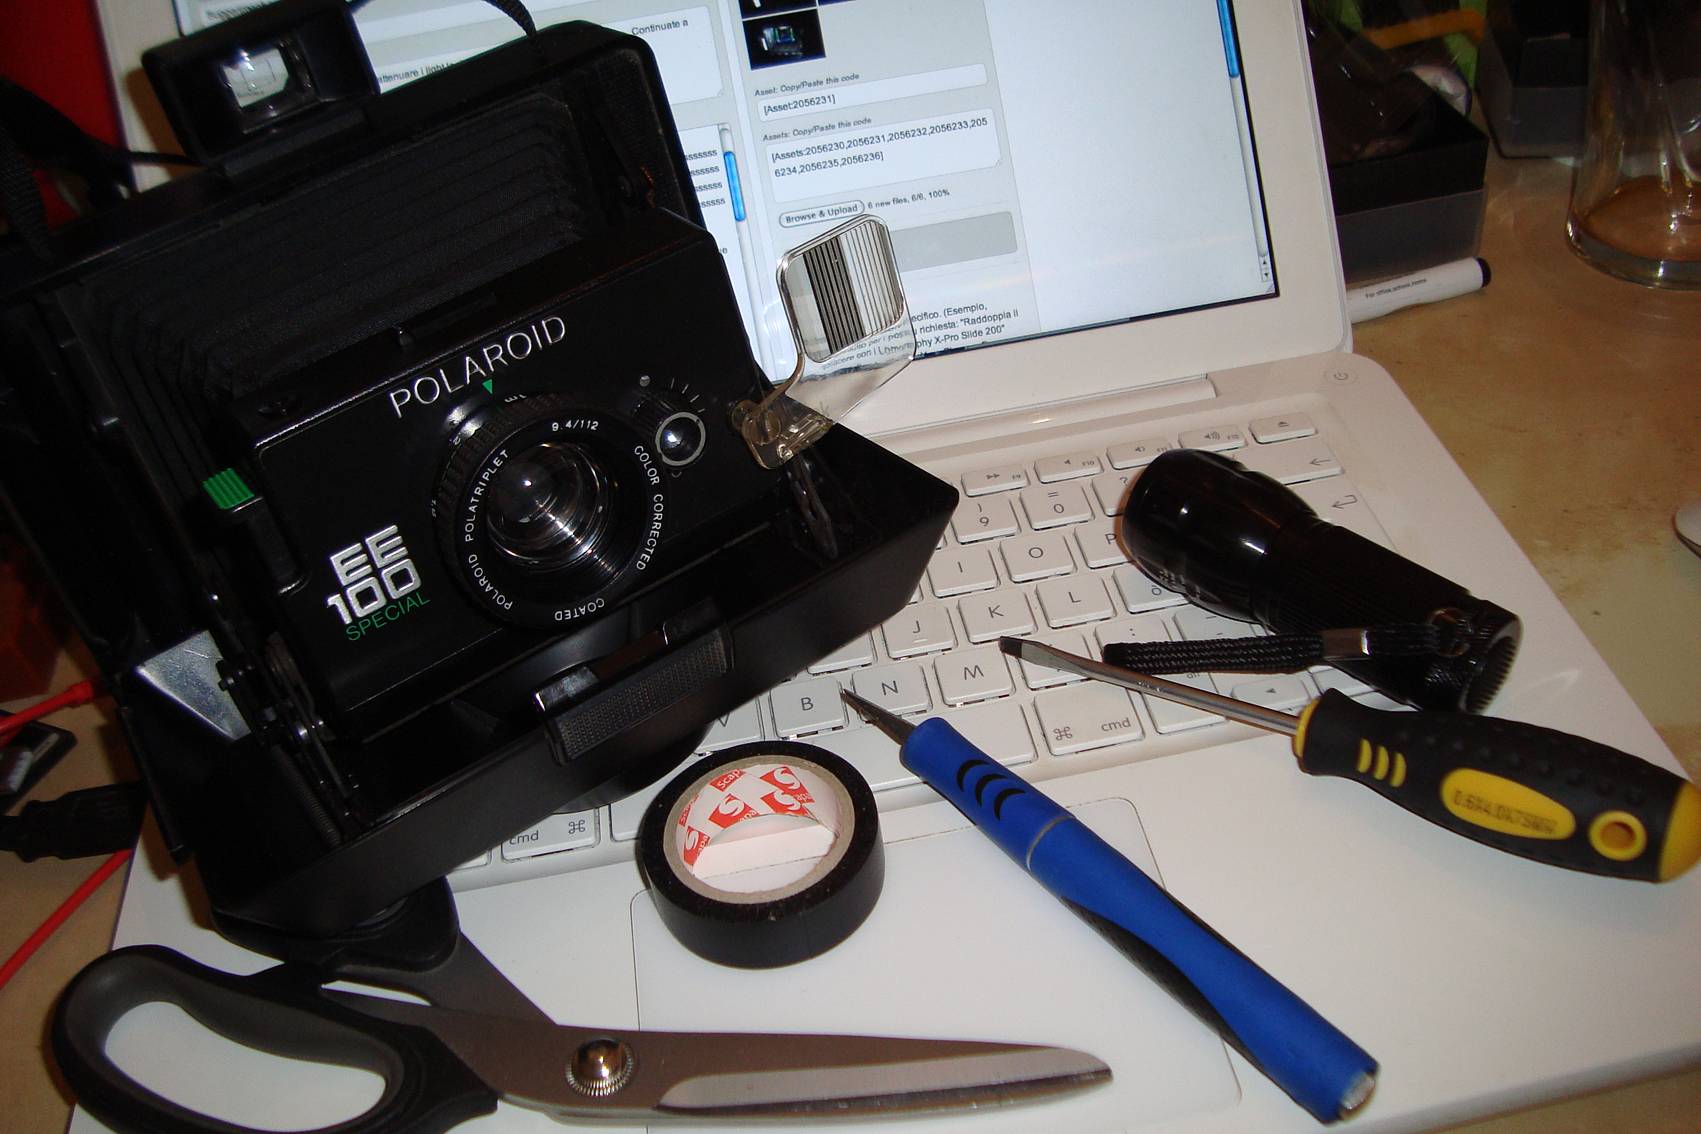
After finishing the stack of photos, I opened the polaroid and with the help of a flashlight, I tried to see if the bellows was damaged. A tragedy, you see so many small holes of light. The bellows looks like a piece of Swiss cheese!
Here’s how we can solve this problem, we need:
- The Polaroid with damaged bellows
- Black electrical tape up
- Scissors and/or cutter
- Small split screwdriver
- A torch
First, pull out the bellows and open the back of the Polaroid, light the torch and insert in the polaroid. In the dark we can see if the bellows are intact or not, and especially where the light enters.
Given this, let us remember the points where the holes are.

Now we can choose 2 ways: the first is to put the tape externally (the disadvantage is that you’ll see it, but it is a much easier and faster) the second one is to put it inside (the disadvantage is that it takes longer but outside we do not see anything). I opted to put it internally.
Take the tape and cut it to small pieces. Tape them to the holes.


Often evaluate the progress of work by testing the torch in the bellows.

As you can see there are no light leaks! :)
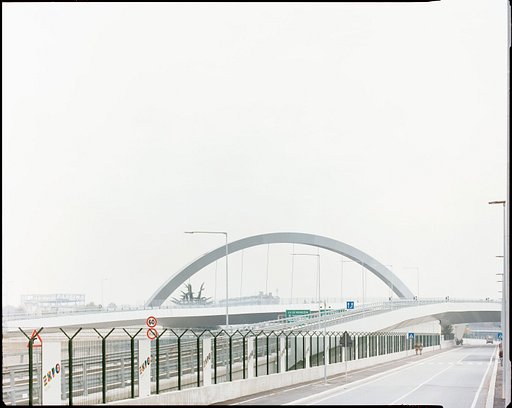
Below you can see some pictures taken after the treatment:


Much better, no?
Scritto da simonesavo il 2013-09-17 in #gear #tutorials #light #camera #post #special #tipster #polaroid #leaks #ee100 #fotocamera #richiesto #simonesavo #modificare #rimuovere
tradotto da Simone Savo


Nessun Commento