Experiments in Cross Scanning - Scanning Tutorial
26 101 Share TweetSome ideas about scanning cross processed film, or, what I learned (until now) about scanning, especially cross processed film.

It has been a long time that I was planning to get myself a proper scanner, one that is able to scan both 35 mm and 120 film. In the beginning of my lomographic way, I used to get the photos printed and scan the prints with my old Epson flatbed scanner. Later, realizing that if I keep shooting like I did, this way is going to lead me to a street corner very very fast, I gave up the prints and started getting the films scanned by the lab. This was already a big difference in the costs, but there was also always the doubt in my mind (well, actually it was more of a solid idea than a doubt) that the lab scans are not exactly “correct”. What do I mean by correct? Well, let me explain.
When I first read about cross processing, here on the site, I was captured by the idea of those “unexpected results” you get when you cross your films. And indeed, crossing my first slide films, the unexpected results were there, and quite unexpected they was! I was very happy with those and started exploring the different films and their behaviors, trying to understand what is actually happening there. Slowly, a troubling thought started creeping at the back of my head: each film had its own characteristics, his own “cross-tendency”, an inclination towards a certain tone (To name a few, the Fuji Velvia 100 leaned strongly towards the purple-pink hues, Fuji Sensia 100 produced psychedelic purple tones, the Kodak EBX – lime greenish), but in almost every roll I got back from the lab there were a few images that did not follow that rule, that somehow escaped this color wash that all the others got. How come?? It was not very logical. What can make this difference? Lighting conditions? Possible, but sometimes two pictures taken just one after the other came totally different in regards to the cross effect.
At the time I left it for the mystery that it was.
When I got my scanner and did my first steps in scanning cross processed film, the issue came back, and this time I needed to understand it in order to get my scans right. The first scans of crossed slide film were very disappointing and I started looking on the net for some information. I also remembered Stouf's article about scanning crossed film, which made sense to me – the same principle is also true for scanning prints: if you have a “true” black (and white) in your image, the auto exposure feature of the scanning software (or any automatic correction you can do later in Photoshop) will produce a more accurate result.
I found another article that was claiming that cross processing slide films do not lead to unexpected results, but to quite consistent (per film type) results. And it is quite logical: if you look at a crossed Astia 100 negative for example, the base color of it is green. This base color is the same all over the roll. When inverted, it will turn to the purple that is characteristic to the Astia 100. But its effect should indeed be consistent throughout the whole roll. Well, at least that was my conclusion. (This article is written based on my thoughts and experiences only, please correct me if you have any facts that refutes my theories)
Well, there is also another pretty big issue, discussed here on the sit from time to time, and that is: how much do you let your scanning software or yourself fiddle with your scanned images? How far do you with tweaking the color balance, the contrast, the saturation? This is somewhat of a moral issue I find. Some say that you should do as little as possible, some say you should do as much as you like, some say that you should limit yourself to the what is to be replicated in a darkroom. But I will not go in to this discussion now, I just want to show you some of my tests and their results, and you can judge for yourself what is more “correct” in your eyes.
I am using an Epson V500 with the EpsonScan software, but I think that the same ideas can be applied with any other scanner and software.


1: scanned with no color/exposure correction at all.
2: photoshop “auto levels” applied.
3: black edges trimmed and photoshop "auto levels applied.
You can see here that the original scan is a bit flat (low contrast). And, you can see a small difference in the “auto levels” correction when applied with or without the black edges.


1: scanned as positive film with no color/exposure correction.
2: photoshop “auto levels” applied.
3: scanned as positive film with scan software auto exposure (1.8 gamma).
Another technique that came up in some discussions about x-pro scanning, is scanning the negatives as positive (slide) film and inverting it in post. As you can see the results are quite different than when scanning as negative. I find that (at least with the Epson V500) this method requires more tweaking in the post, and that the quality of the image is not as good (lots of noise in the black for example).


1: scanned with no color/exposure correction, photoshop “auto levels” applied.
2: scanned with no corrections, black edges trimmed and photoshop “auto levels” applied.
3: scanned with scan software auto exposure (1.8 gamma).
In this example you can clearly see the phenomena I was referring to earlier: when the scan area does not include the black edges, the scan software is trying to correct the levels/white balance without an “anchor” (black), resulting in an image (3) with almost no trace of the Velvia purpleness. This happens a lot in the automatic lab scans.


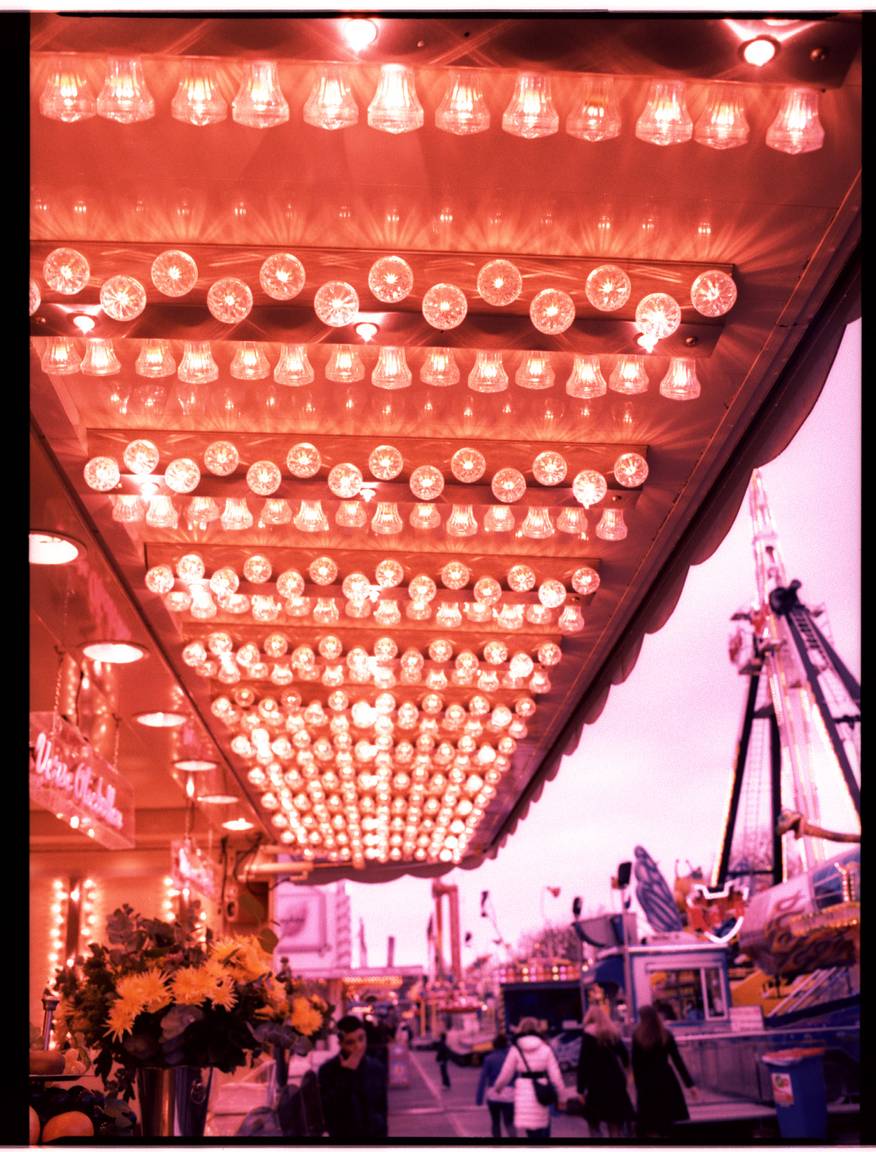
1: scanned with no color/exposure correction, photoshop “auto levels” applied.
2: scanned with no corrections, black edges trimmed and photoshop “auto levels” applied.
3: scanned as a positive film, with scan software uto exposure (1.8 gamma).
4: scanned with scan software auto exposure (1.8 gamma), black edges trimmed.
5: scanned with scan software auto exposure (1.8 gamma), with black edges.
In the case of the EPP you can see that photoshop “auto levels” does not deliver the same poppy colors that the scan software auto exposure delivers. Though the scan software does blow the highlights quite a bit. I tend to believe that some films are easier to “correct” than others. Another thing that came up in some discussions was that fact that scan softwares probably apply a fort of filter to negate the orange tint that regular negatives have. Since crossed films are mostly not orange (though some are in the area), this might lead to some more color correction issues when scanning them as negatives.


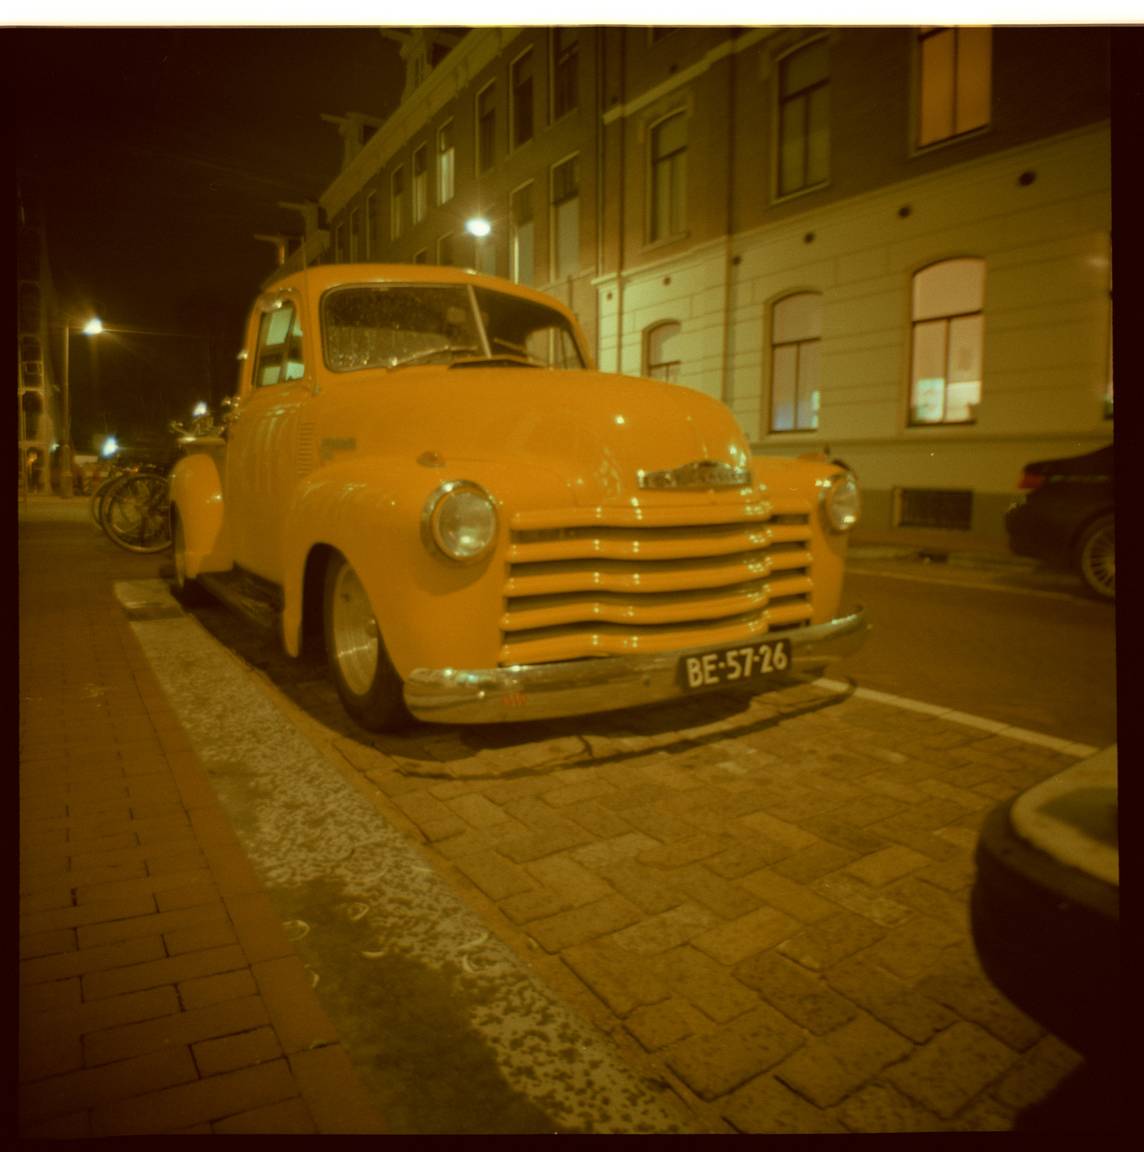
1: scanned with no color/exposure correction.
2: scanned with no color/exposure correction, photoshop “auto levels” applied.
3: scanned with no corrections, black edges trimmed and photoshop “auto levels” applied.
4: scanned with scan software auto exposure (1.8 gamma), with black edges.
5: scanned with scan software auto exposure (1.8 gamma), black edges trimmed.
Without the black edges the purple tint is less dominant and the color range is wider. You can notice that the photoshop “auto levels” produces a little more subdued results.
And, interesting to see, here is the scan I got from the lab for this image:

This makes me believe that the scanning profile that is used in the lab is pumping up both contrast and saturation. I must admit I find the saturation a bit over the top.


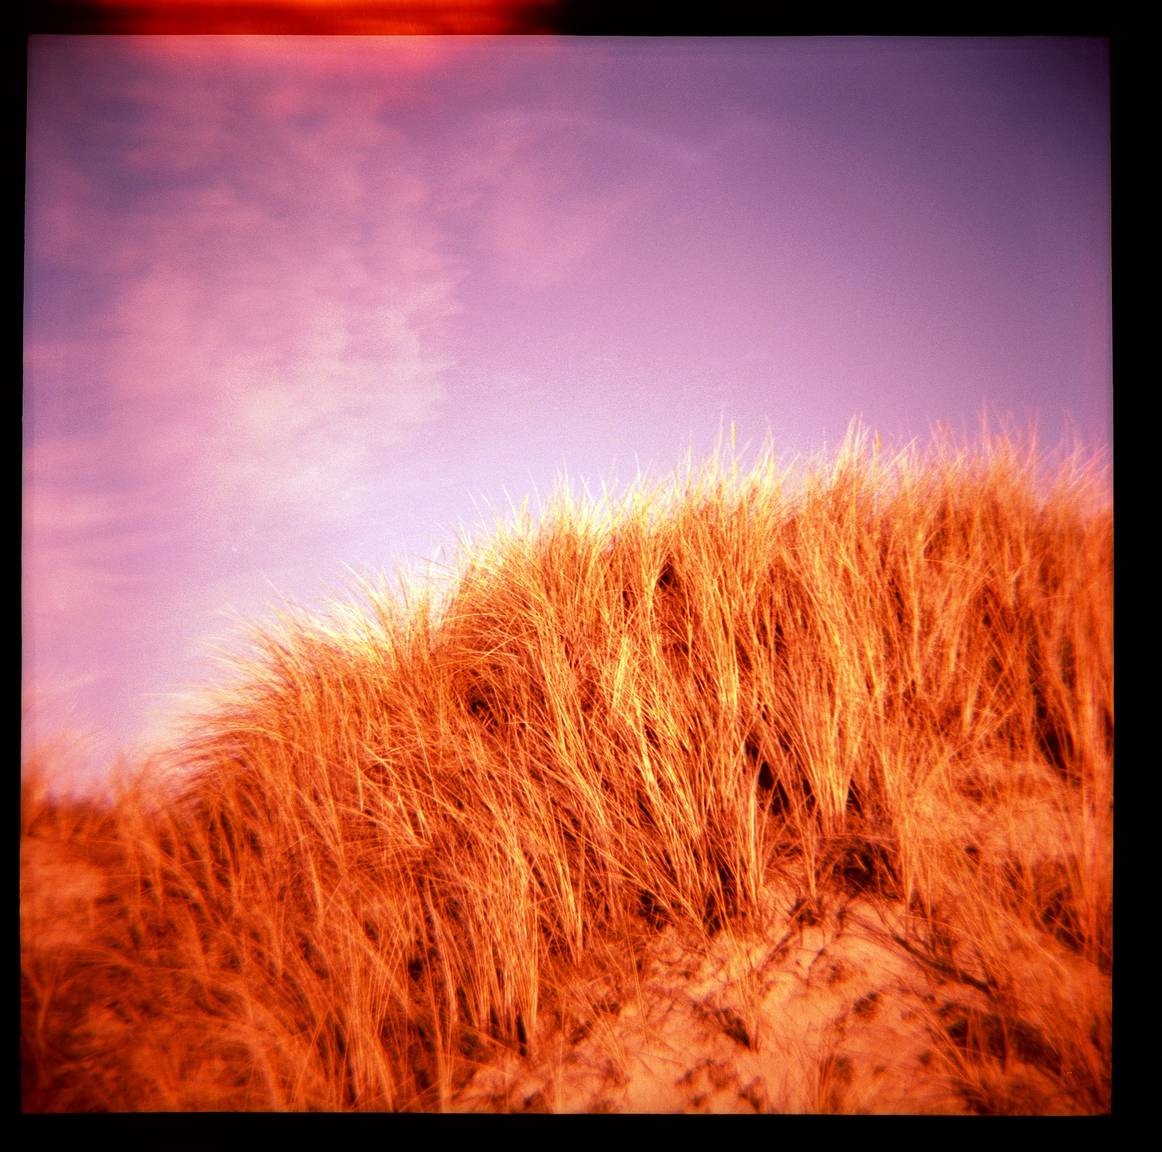
1: scanned with no color/exposure correction.
2: scanned with no color/exposure correction, photoshop “auto levels” applied.
3: scanned with no corrections, black edges trimmed and photoshop “auto levels” applied.
4: scanned with scan software auto exposure (1.8 gamma), with black edges.
5: scanned with scan software auto exposure (1.8 gamma), black edges trimmed.
Here again you can see the difference between the correction of the scan software and that of photoshop. The scan software pushes the contrast up and loses a lot of detail in the highlights. The color is also quite different.


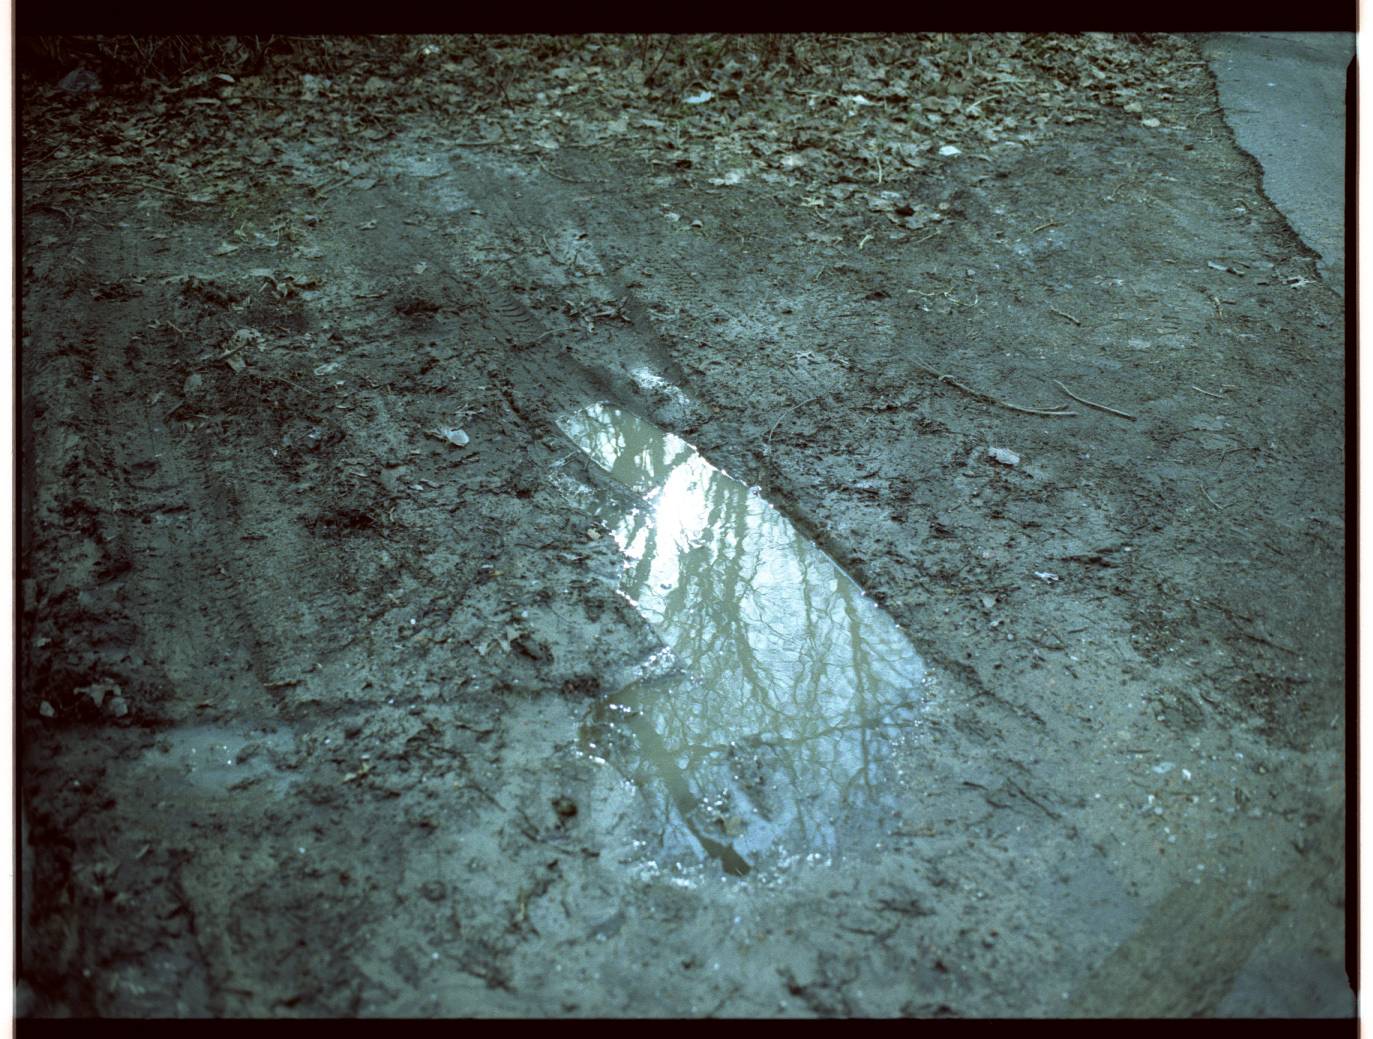
1: scanned with no color/exposure correction.
2: scanned with no color/exposure correction, photoshop “auto levels” applied.
3: scanned with no corrections, black edges trimmed and photoshop “auto levels” applied.
4: scanned with scan software auto exposure (1.8 gamma), with black edges.
5: scanned with scan software auto exposure (1.8 gamma), black edges trimmed.
So, as I keep on scanning my workflow is starting to form… I think that as a general rule I will use the scanning with black edges and scan software auto exposure, maybe a bit tempered down to prevent blowing the highlights. But it seems that the scan software gets more colors out of the image, while the black edges take care that it will stay within context…
After debating with myself for a long time about the moral issues of digitally correcting my images, I got to this conclusion: there is always some exposure/color/contrast correction happening, also in a darkroom. Some photos are badly exposed and a light correction does not bring them to life. I prefer to leave those the way they are. This is part of the lomographic journey as I see it: not all experiments succeed, and not all the photos can be good.
And as for the unexpected, sometimes random cross process effect? Well, it is a matter of white balance or levels adjustments. If you choose to use the black edge method and keep more “true” to the nature of the film you are using, or if you choose to use it the other way and let the correction lead to some unexpected results – I think these are both “kosher” ways to use the cross process effect. I just think, keep it simple.
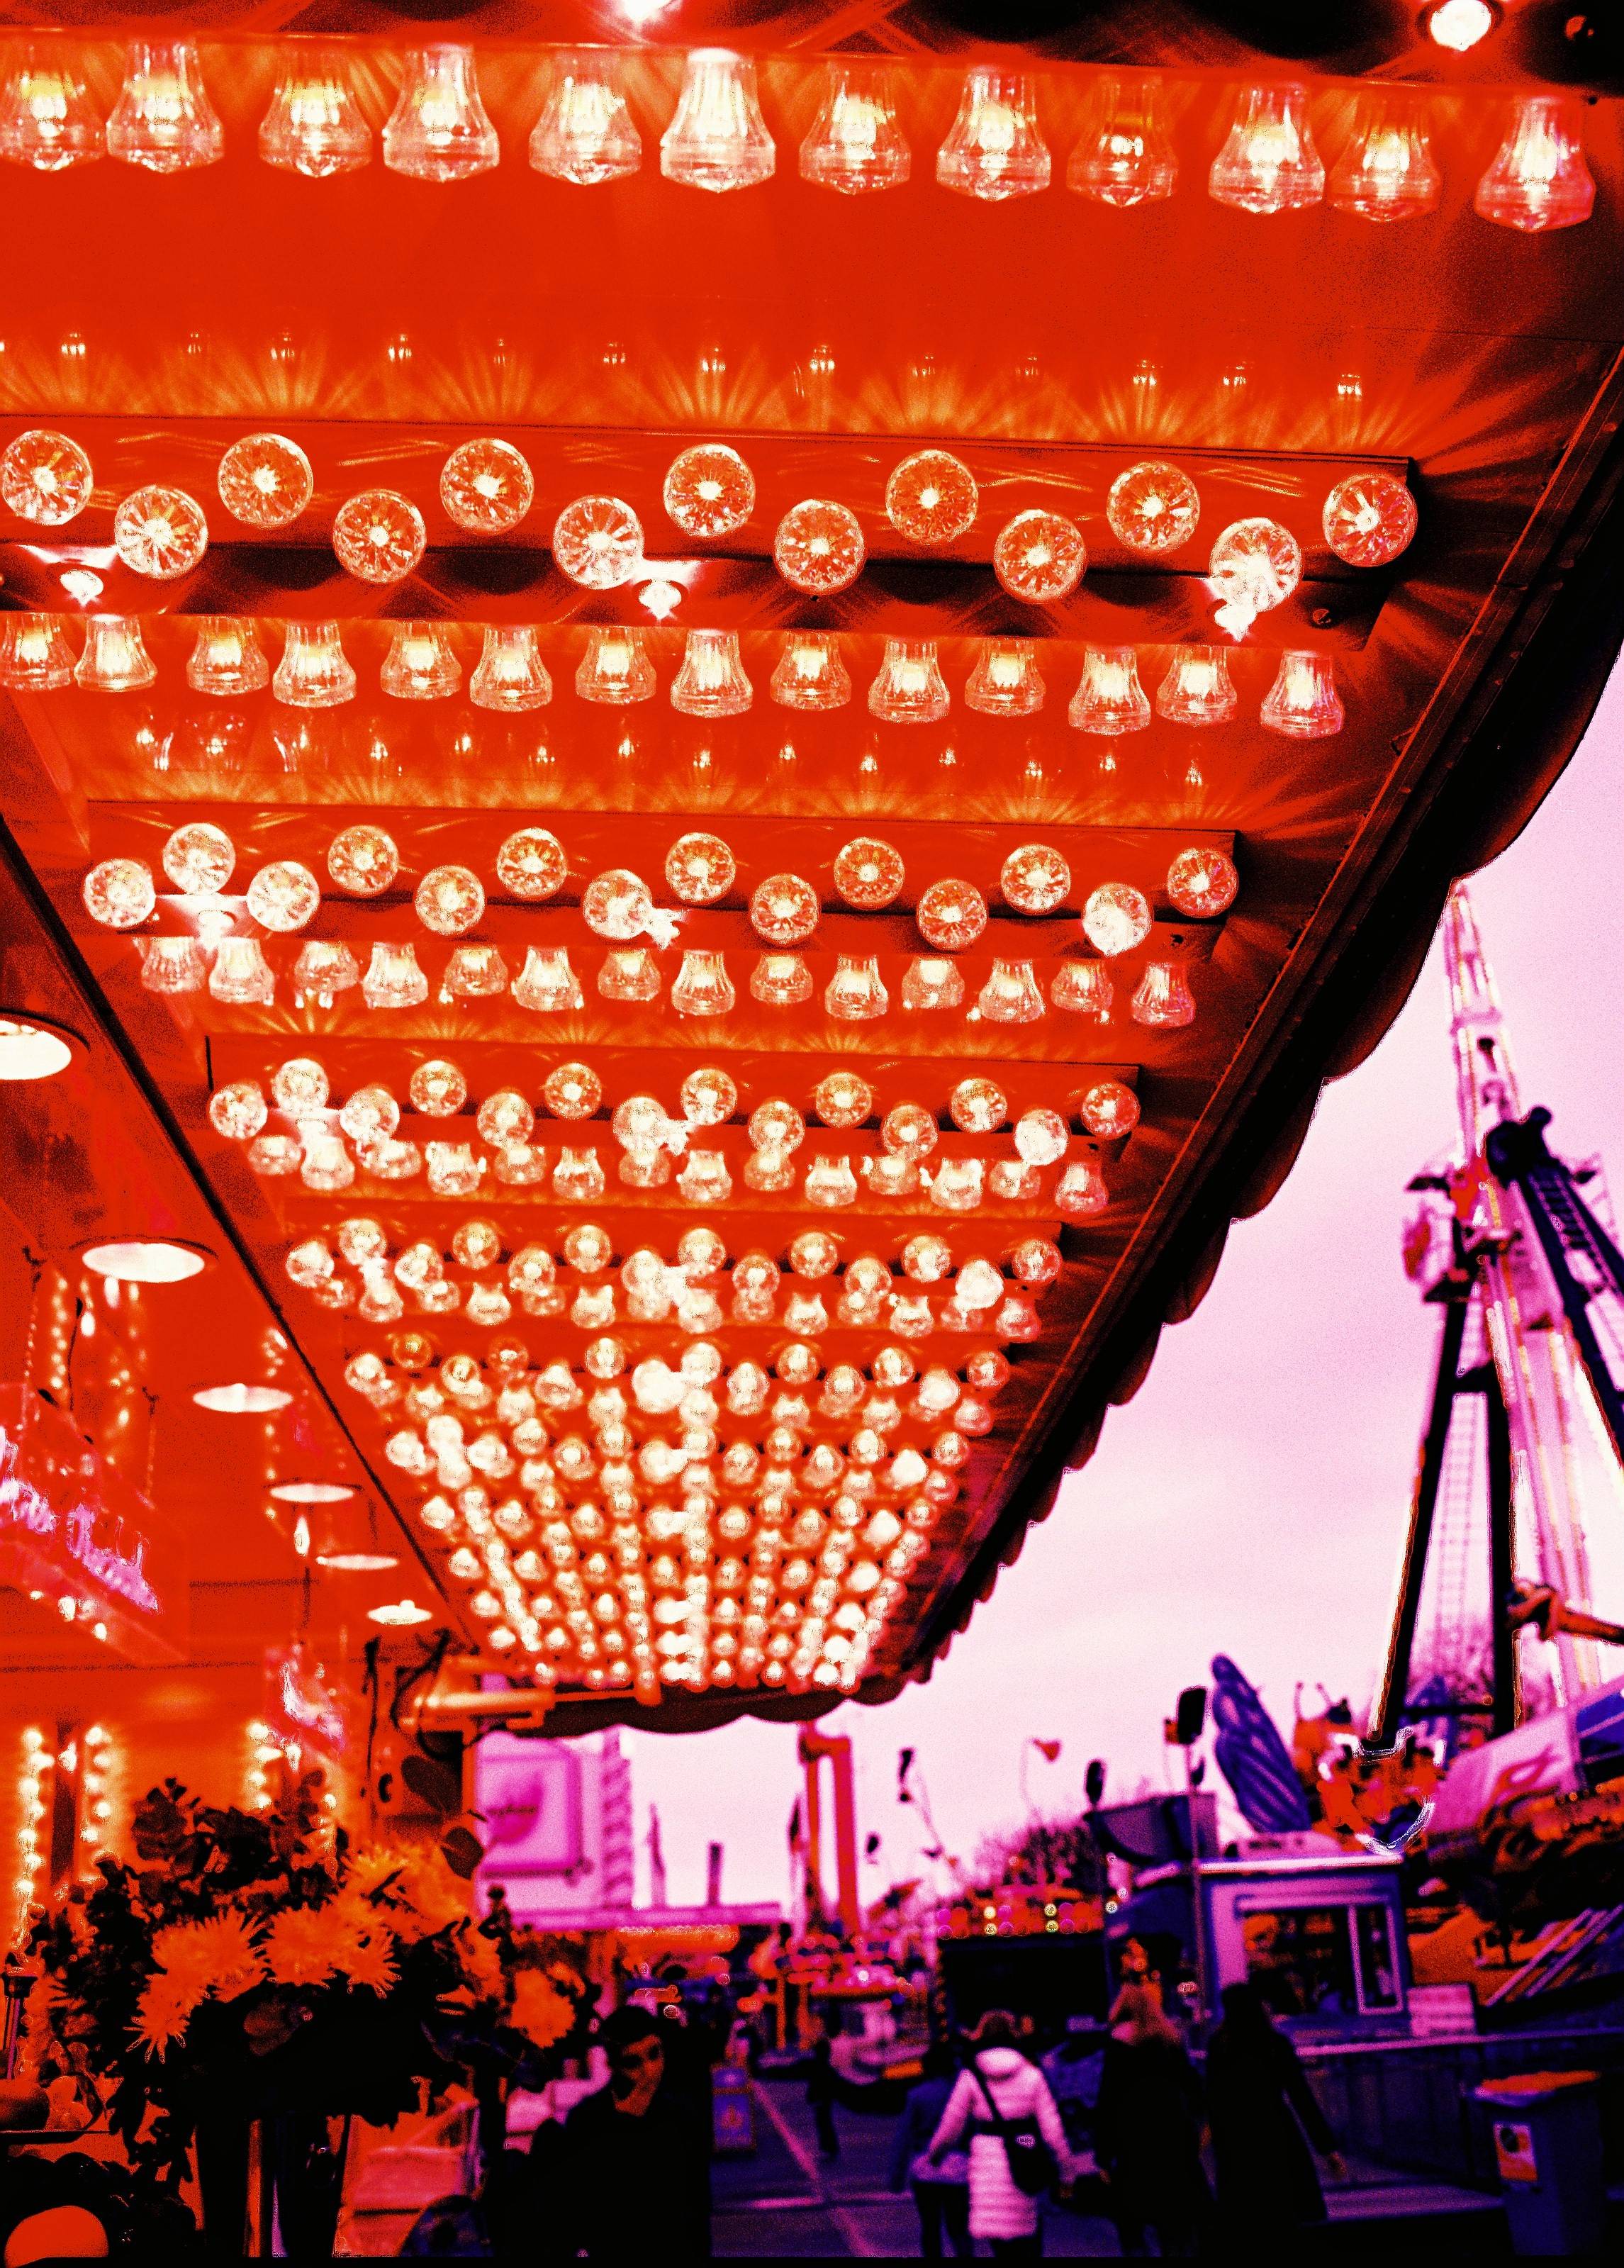
And to finish it off – the first film I crossed was a Fuji Velvia 100. I did it in the only real professional lab left in Amsterdam and it cost me 13 euro only for the crossing (I did not know it until it was too late…). This film was – according to the lab workers – printed in a darkroom and not digitally. Here is a re-scan of one of the photos from then, which I just did with my scanner:

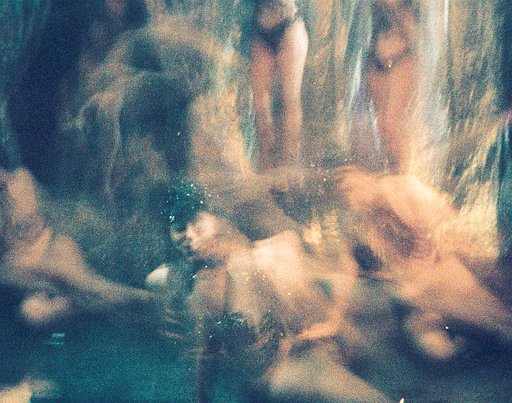
and this is a scan of the print I got then:

I have no idea what have they done to get to this result. I tried to imitate it with no success… I’ll have to go back there and ask them I guess.
Scritto da paramir il 2011-04-28 in #gear #tutorials #tutorial #scanning #tipster #scan-scanner-epson-v500-xpro-x-pro-cross-process-negatives-scanning-photoshop-methods #top-tipster-techniques


26 Commenti